
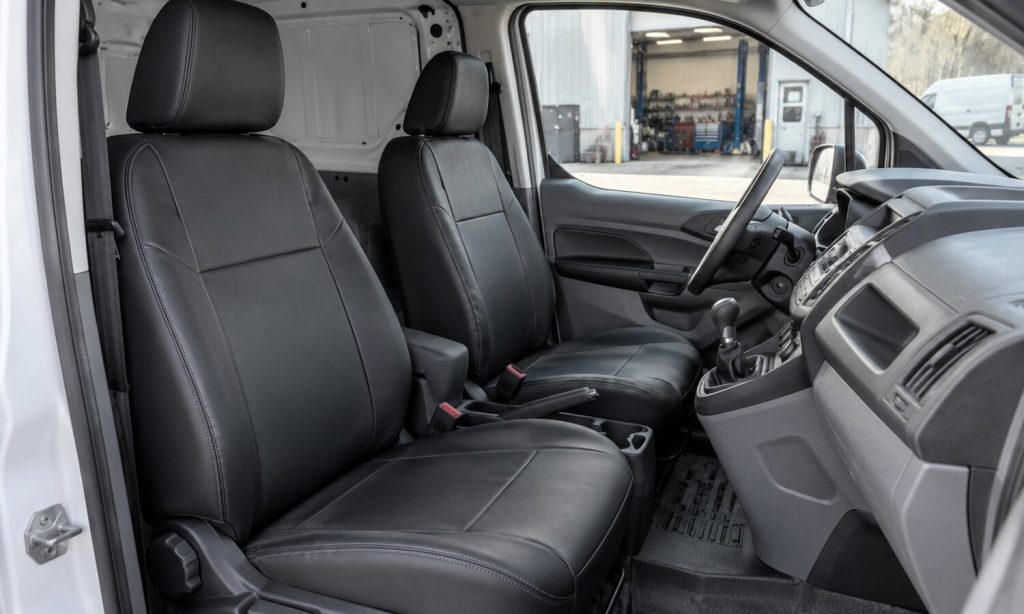
Before using accessories in a Ford Transit Connect, check that each part matches your van’s model year, body style, seat layout, trim, and installed equipment. A compact cargo van and a passenger wagon can look similar while having different seats, mounting points, trim panels, wiring, or safety equipment. Start with the vehicle identification number (VIN), owner’s manual, and the accessory maker’s exact fitment notes. Then inspect the installation area, confirm clearances, and test every affected control before driving. This guide covers practical installation and fitment checks, with extra care for seat covers because they can affect seat-mounted side airbags. If your accessory requires cutting, electrical splicing, drilling, or removing a safety system component, pause and use the vehicle maker’s instructions or a qualified installer.
Identify the exact Transit Connect configuration
Write down the model year, cargo van or passenger wagon body, wheelbase, trim, and front-seat configuration before shopping or installing anything. Record whether the vehicle has a single passenger seat, a folding passenger seat, a center seat, an integrated armrest, seat-back work surface, or other special equipment. Transit Connect configurations changed across model years, and “fits Transit” can refer to a larger Ford Transit rather than a Transit Connect. Confirm the product listing names the Transit Connect and the right year range; do not rely on a photo or a broad vehicle family label.
For a part with a manufacturer application guide, compare the listed body style and options with your van’s VIN build information or owner documentation. Seat-cover listings may include exclusions for particular seat layouts or equipment. Treat those details as part of the fitment requirement: if a listing leaves out a configuration detail that could affect fit, ask the maker before installation.
Inspect the mounting area before fitting an accessory
Remove loose items and look over the mounting surface, fasteners, trim, and nearby controls. Check for previous modifications, damage, corrosion, missing clips, or aftermarket wiring. Compare the accessory’s supplied hardware with its instructions and verify that the required mounting points are actually present. Do not substitute a screw, drill a new hole, or force a bracket into place just because it seems close. A part that sits crooked or needs unusual pressure may be incorrect for the configuration.
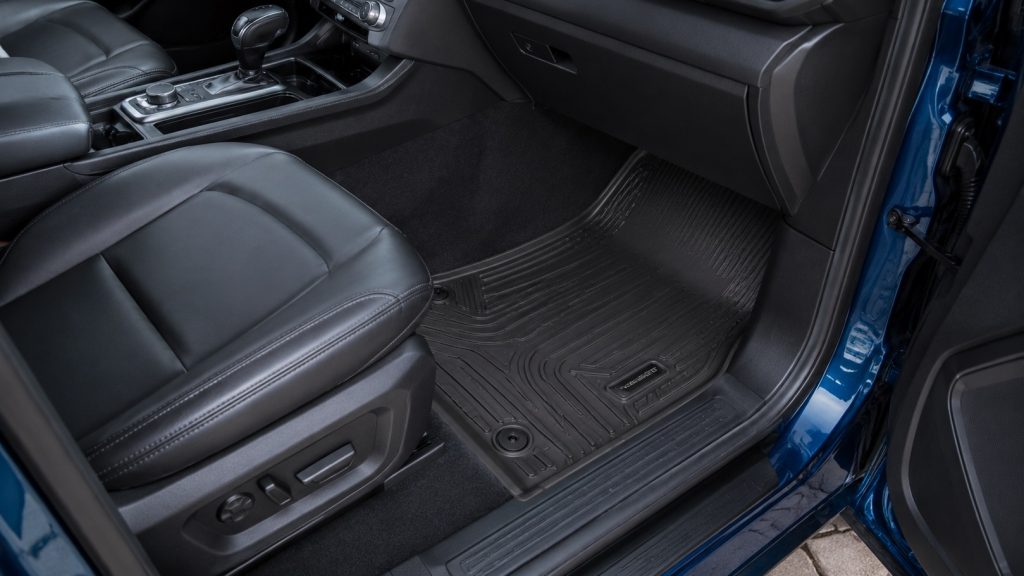
For floor or cargo accessories, make sure the piece lies flat and cannot slide into the pedals, seat tracks, door openings, or cargo restraints. For a general checklist of measurement and clearance questions on another Ford model, see this Ford Escape accessory fitment guide; its vehicle-specific details do not apply to the Transit Connect. Confirm that a mat’s retention features engage the vehicle’s floor anchors and that accelerator and brake pedals move freely through their full travel.
Check seat covers and seat-mounted airbags
Seat covers need special attention because front seats may contain side airbags, sensors, wiring, seat belts, and adjustment mechanisms. Check the owner’s manual for airbag locations and follow Ford’s warnings. Use a cover expressly designed for the exact seat and airbag arrangement, with the intended deployment seam or construction. Never cover, stitch over, block, or alter a marked airbag deployment area. Avoid universal covers when their design or compatibility with the seat-mounted airbag is uncertain.
Before fitting, inspect the seat side for an airbag label or deployment seam and compare it with the cover maker’s instructions. Route straps only through the described gaps. Keep straps and fabric away from wiring connectors, seat belt buckles, latch hardware, and power-seat tracks. Do not disconnect yellow SRS connectors or probe airbag wiring. If the cover requires removing trim or interfering with a connector, stop and ask a qualified technician. The site’s Ford Transit Connect seat-cover guide discusses fitment, but always verify current product-specific airbag and installation instructions.
Test controls, visibility, and access after installation
After installing an accessory, adjust the driver’s seat, steering wheel, mirrors, and seat belt as you normally would. Confirm that the accessory does not restrict seat travel, belt routing, buckle access, head-restraint adjustment, door operation, window visibility, or access to controls. In the passenger area, verify that child-seat anchors and seat belt paths remain accessible where applicable. For cargo accessories, check that loads remain within the vehicle’s rated limits and that the accessory does not block lights, mirrors, or the driver’s view.
For electronic accessories, route cables away from pedals, steering parts, sharp edges, hot surfaces, and airbag deployment paths. Do not assume an unused-looking cavity is safe for wire routing. Follow Ford’s and the device maker’s instructions, and avoid tapping into vehicle wiring unless the approved method and circuit are known. A broader discussion of dash-camera power and wiring choices can help you identify questions to resolve before installation.
Do a stationary check and a short follow-up inspection
With the van parked, operate every affected seat adjustment, latch, door, switch, and accessory function. Check that the part remains secure and that warning lamps behave normally. Do not drive if an airbag or restraint warning appears, a control is obstructed, or a component moves under hand pressure. Consult the owner’s manual or a qualified repair professional rather than trying to clear a safety warning by disconnecting the battery.
If the installation passes the stationary check, take a short, low-speed drive in a safe area and listen for rubbing, rattling, or shifting. Reinspect fasteners and clearances afterward, and repeat the check after the first few trips if the accessory maker recommends it. Keep the instructions and any hardware you removed in case the accessory needs adjustment or removal. For related Transit Connect interior care, see this material-care guide; its focus is cleaning rather than installation.
Common fitment mistakes to avoid
- Using a Ford Transit listing as proof that the part fits a Transit Connect.
- Ignoring seat style, wheelbase, body type, trim, or model-year changes.
- Forcing brackets or fasteners instead of confirming the part number and mounting method.
- Using a seat cover without verifying compatibility with the side airbag system.
- Routing cords across pedals, restraint parts, moving seats, or airbag paths.
- Assuming a warning light or interference will disappear after a few drives.
Official safety references
- NHTSA: Vehicle Air Bags and Injury Prevention (general airbag safety information).
- NHTSA: Side Airbags (warnings about accessories on or near airbags and seat-back covers).
- Ford Owner Manuals (select the exact Transit Connect model year).
Frequently Asked Questions
Does every Ford Transit Connect seat cover fit every model year?
No. Seat shape, body configuration, seat functions, and equipment can vary. Match the cover to the exact year and seat layout, and check the maker’s fitment exceptions.
Can I use a universal seat cover if it feels snug?
A snug appearance does not confirm airbag compatibility. Use a cover with clearly stated application and airbag provisions for the specific seat, or ask a qualified installer.
Should I disconnect the battery before installing an accessory?
Follow the vehicle and accessory instructions for the specific task. Do not disconnect or handle SRS components unless the vehicle’s prescribed service procedure specifically requires it and you are qualified to follow that procedure.
What should I do if an accessory blocks a seat control or belt buckle?
Stop using it and remove or reposition it according to its instructions. A blocked control, buckle, or belt path can interfere with normal operation.
When should a professional install a Transit Connect accessory?
Use a qualified technician when installation involves airbags, restraint wiring, vehicle electrical circuits, drilling near hidden components, structural mounting, or a step not covered clearly by the manufacturer.
Final Words
Good installation and fitment checks begin with the exact Transit Connect configuration and continue through a careful inspection of mounting points, clearances, controls, wiring, and safety systems. Take extra care with seat covers: verify the intended seat layout and side-airbag provisions rather than relying on a generic “van” fit claim. If a part needs force, blocks a control, triggers a warning, or requires work around an airbag or unknown wiring, stop and get model-specific guidance. A few careful checks before driving can help you catch a mismatch while it is still easy to correct.

Pingback: Ford Ranger Accessory Features for Work, Travel, and Family