
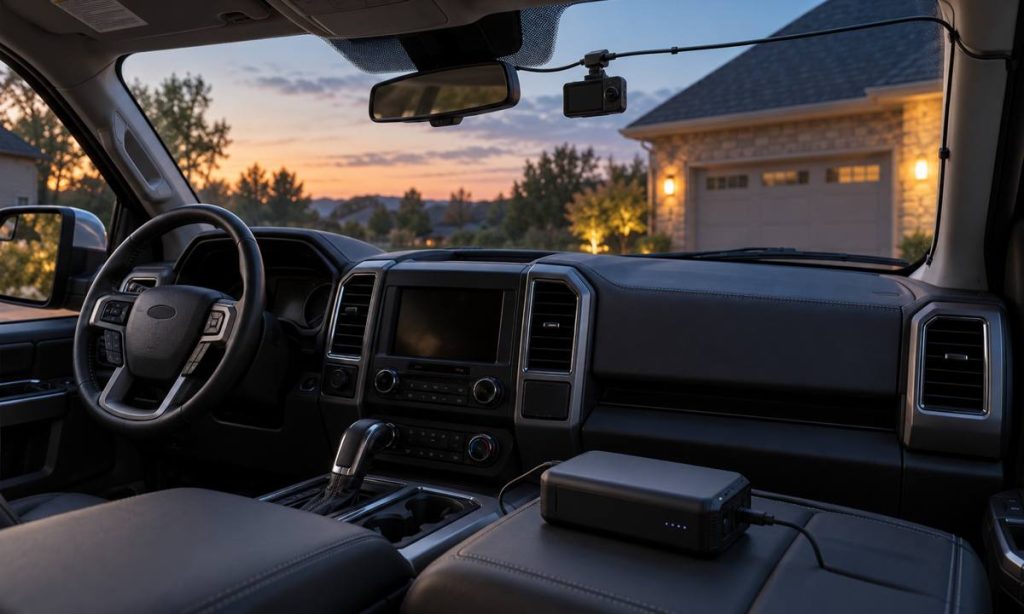
Parked-car recording needs a power source that stays available after the engine is switched off, plus a way to limit battery use. A dash cam plugged into a cabin outlet may shut down when the vehicle turns off, while a hardwire kit or OBD-II adapter may keep it running in parking mode. A separate dash-cam battery pack can power recording without drawing directly from the vehicle’s starting battery. The right setup depends on the camera’s requirements, your vehicle’s outlet behavior, and how long you want the camera active. Check the exact vehicle manual and camera instructions before connecting anything. If the camera occupies the OBD-II port, you may need to disconnect it before connecting a diagnostic tool.
What parking mode needs
Parking mode is a camera feature that records or monitors after the vehicle is parked. Depending on the camera, it may use motion detection, impact detection, time-lapse, or a low-power standby mode. The feature only works if the camera has power after ignition is off and receives the signal it needs to change from driving mode to parking mode. A power cable alone does not guarantee parking recording.
Read the camera manual for the required input voltage, compatible cable, parking-mode trigger, and power limits. Some systems use a cable with separate constant-power and accessory-signal connections. Others rely on an OBD-II adapter or a dedicated battery pack. Use only the combination documented for your camera model; connector shape alone does not prove compatibility.
Compare common power options
12-volt accessory outlet
A 12-volt socket is the simplest option when the camera only needs to record while driving. Some vehicles switch the outlet off with ignition; others may keep it powered for a period or continuously. Check the vehicle manual and test the outlet with the vehicle parked. If it shuts off, the dash cam will not have power for extended parked recording through that outlet. If it remains on, the camera may keep drawing from the vehicle battery until unplugged or shut down by its own controls.
Do not leave a camera connected for long periods without confirming how the outlet behaves and how the camera manages power. A low battery, cold weather, frequent short trips, or an older battery can reduce the margin available for parked recording. Public owner discussions often mention the same trade-off: convenience from a live outlet can be offset by unexpected battery drain, while cutoff settings may stop recording sooner than desired. Those are individual experiences, not a guarantee of what will happen in your vehicle.
Hardwire kit
A camera-specific hardwire kit can provide a constant supply and an ignition signal so the camera changes modes when the vehicle shuts down. Many kits include a low-voltage cutoff and/or timer. Confirm that the kit matches the camera and vehicle electrical system, that its cutoff is supported, and that the camera recognizes the parked state correctly. A cutoff is a safeguard, not a promise that the vehicle will always start: battery condition, temperature, trip pattern, and other electrical loads matter.
Hardwiring may involve fuse-box access, fuse selection, trim removal, and cable routing near airbags. Do not guess at a fuse or route a cable across an airbag path, pedal, steering component, or sharp edge. Follow the vehicle and kit instructions. If the instructions do not clearly cover your vehicle, have a qualified installer complete and inspect the connection.
OBD-II power adapter
An OBD-II power adapter can be easier to install than a fuse-box connection and may provide the signals needed for parking mode. Compatibility varies by adapter, camera, vehicle, and diagnostic-port behavior. Check whether the adapter has its own voltage protection and whether it can be configured for the camera. It may occupy the diagnostic connector, making it inconvenient to connect a scan tool unless you unplug the camera adapter. Avoid using a splitter unless both manufacturers explicitly support that setup.
Separate dash-cam battery pack
A dedicated dash-cam battery pack charges while the vehicle is running and powers the camera while parked. It can reduce direct drain on the starting battery, but it adds cost, installation space, charging time, and another component to maintain. Verify the pack’s input and output compatibility, charging method, operating temperature range, and expected runtime with the camera. Runtime depends on camera power draw, recording mode, pack capacity, temperature, and battery age; do not rely on a generic hours estimate for a different setup.
Set a conservative battery-protection limit
If the camera or power kit offers a low-voltage cutoff or timer, read its manual before selecting a setting. A lower cutoff may allow longer recording but leaves less reserve for starting the vehicle. A higher cutoff may protect the starting battery more conservatively but shorten parked coverage. There is no single cutoff value that is right for every battery, climate, or vehicle. Follow the camera maker’s instructions and account for battery condition and daily driving patterns.
Manufacturer support pages describe cases where parking-mode wiring or settings can cause a camera to remain in full recording mode instead of low-power standby. Check that the camera actually enters parking mode after shutdown and that it stops when the selected voltage or time limit is reached. If the vehicle shows a low-battery warning, cranks slowly, or fails to start after installation, disable parked recording and have the battery and wiring checked.
Plan installation and test it
Before installation, note the exact camera model, cable model, vehicle year, and the behavior you expect after shutdown. Check the manual for which outlet turns off, how the camera detects ignition state, and any restrictions on fuse taps or the diagnostic port. Keep cables clear of pedals, seat tracks, airbags, steering parts, and hot or moving components. Do not route wiring over curtain-airbag deployment areas.
After setup, test the camera while parked in a safe location. Confirm that driving recording starts normally, parking mode begins after ignition-off, the camera exits parking mode when the vehicle starts, and the cutoff or timer works as configured. Check recorded clips and warning messages. Recheck after a few normal trips and after the vehicle sits for the longest period you expect. If behavior is inconsistent, disconnect the setup and get help rather than raising the cutoff or changing wiring blindly.
Common mistakes to avoid
- Assuming every 12-volt outlet stays on after the engine stops.
- Using a generic cable that does not support the camera’s parking-mode trigger.
- Leaving parking mode enabled without a working cutoff or timer.
- Choosing a low voltage threshold solely to extend recording time.
- Routing wires through an airbag path or near pedals and moving parts.
- Using an OBD-II splitter that interferes with diagnostics or vehicle systems.
Frequently Asked Questions
Will a dash cam record while my car is parked?
Only if the camera supports parking mode and receives power after the vehicle is turned off. Confirm the outlet or power kit behavior and the camera’s parking-mode settings.
Can a dash cam drain the vehicle battery?
Yes. A camera drawing power while parked can reduce battery charge, especially during long parking periods or when the battery is weak. Use the manufacturer’s cutoff or timer guidance and monitor the vehicle.
Is an OBD-II adapter better than hardwiring?
Neither is best for every vehicle. OBD-II adapters may simplify installation but occupy the diagnostic port; hardwiring may require fuse-box access and careful cable routing. Confirm camera and vehicle compatibility.
Does a separate dash-cam battery pack protect the car battery?
It can reduce direct parking-mode draw from the vehicle’s starting battery, but runtime and charging depend on the pack, camera, temperature, and installation.
What should I do if the vehicle cranks slowly after installation?
Turn off parked recording or disconnect the camera power source, then have the battery and electrical setup checked. Do not assume the camera’s cutoff setting alone resolves the issue.
Final Words
For parked-car recording, choose between a switched accessory outlet, compatible hardwire kit, OBD-II adapter, or dedicated camera battery pack based on the camera and vehicle manuals. Confirm parking-mode behavior, install wiring safely, and test the voltage cutoff or timer. A dash cam can draw power while the vehicle is off, so consider battery age, climate, and how long the vehicle sits. Our Ford F-150 dash-camera wiring guide gives a vehicle-specific installation example; its details should not be assumed to fit other vehicles.

Pingback: Dodge Charger V6 Battery Charger Compatibility Checks
Pingback: Dodge Ram 2500 Dash Cam Wiring and Routing
Pingback: Ford F-150 Dash Cam Wiring and Routing Checks