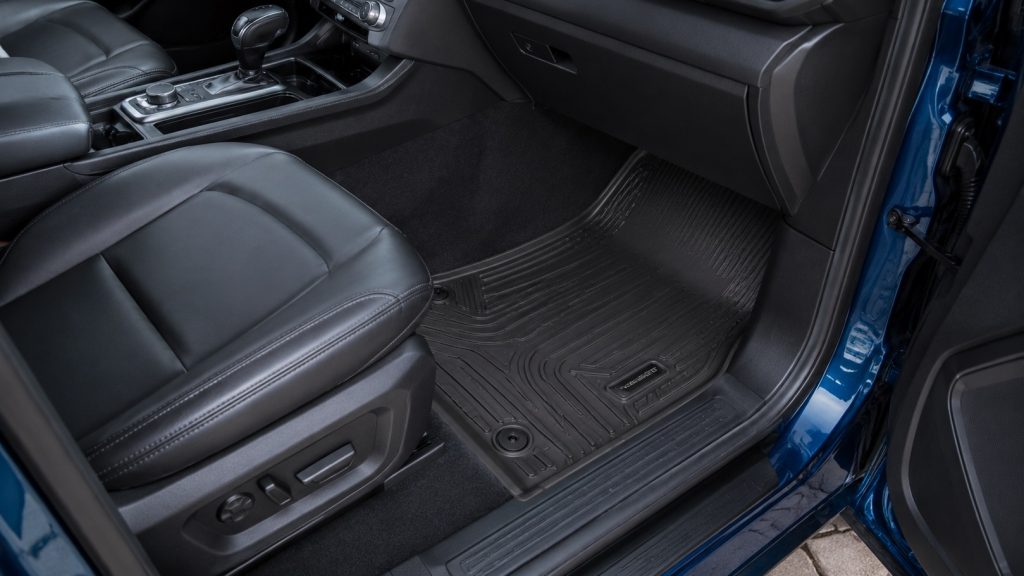
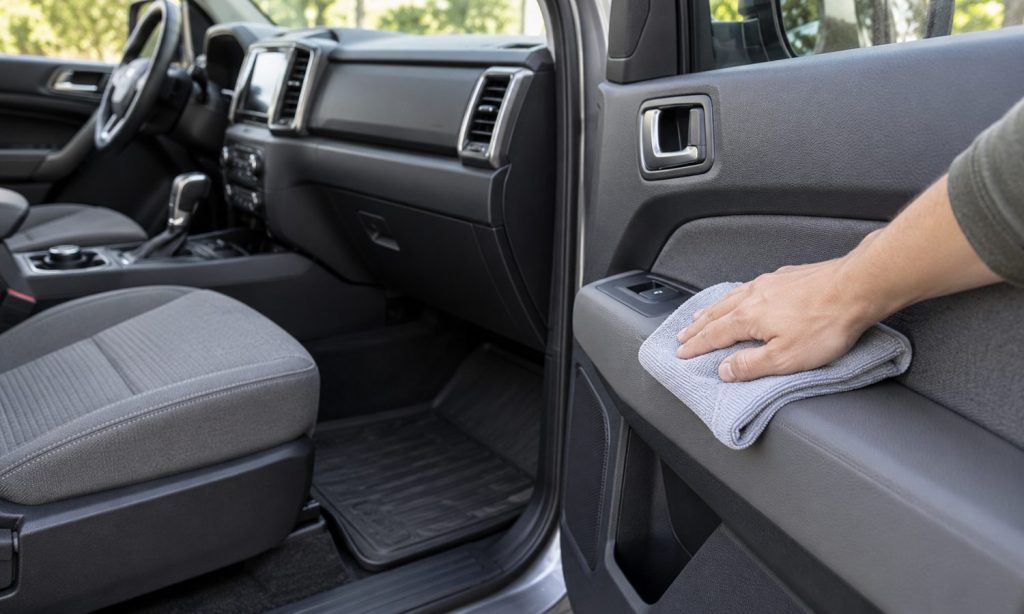
Knowing how to protect and clean the interior materials in Ford Ranger starts with identifying what each surface actually is. Cloth, leather, vinyl, painted trim, clear instrument lenses, and touchscreens should not all receive the same cleaner. The practical approach is to remove loose dirt, consult the care instructions for your model year and material, test an appropriate method in a hidden spot, and stop if the finish changes. A clean-looking surface is not worth damaged coating, soaked padding, or residue on a control. This guide helps you organize routine care, respond to spills, and distinguish ordinary cleaning from a problem that needs professional attention. It applies as a planning framework across Ranger generations; your truck’s manual and any replacement upholstery instructions determine the specific products and methods that are permitted.
Identify the material before treating the stain
Record the model year, trim, and whether the upholstery is original. A seat can combine different materials across its center, bolsters, sides, and back. Appearance alone does not establish that every panel is leather, and a replacement cover may have entirely different care requirements from the factory seat.
Use the vehicle’s build information, manual, and material labels where available. If a finish has been repaired, dyed, or coated, ask the repairer for its maintenance instructions. Do not test a strong cleaner to find out what the material is. Uncertainty about the surface should be resolved before escalating the treatment.
Photograph the area in ordinary daylight before starting. Note whether the mark is sticky, oily, faded, or simply dusty, and record anything already applied. That short history can prevent repeated incompatible treatments and gives a professional detailer useful information if routine care does not solve the problem.
Prepare a controlled cleaning session
Park securely, switch the vehicle off, and choose a ventilated place with time for the interior to dry. Remove loose belongings and inspect pockets and seat creases before vacuuming. Keep clean cloths separate from those used on wheels, greasy tools, or exterior dirt.
Work on one material at a time. Read both the vehicle instructions and the cleaner label, including dilution, application, and removal directions. Test an inconspicuous spot and let it dry before judging color or texture. A wet test area can hide a change that becomes obvious later.
Begin with loose debris rather than rubbing it into the finish. Use suitable vacuum attachments gently and avoid pulling wiring or connectors beneath seats. If access requires removing a seat, opening restraint trim, or disconnecting electrical equipment, treat that as service work for a qualified person.
Clean cloth and carpet without chasing stains aggressively
The 2020 US Ranger manual directs owners to vacuum loose dirt and use the specified upholstery-care method for fabric. It warns against household and glass cleaners on seat fabric. Follow the equivalent instructions for your own year rather than treating a household stain recipe as automotive guidance.
For a fresh spill, contain the affected area and remove excess liquid with a clean absorbent cloth. Work according to the permitted cleaning process, using the amount directed. Avoid repeatedly soaking one small spot. If a ring appears or the stain spreads, reassess the method before adding another chemical.
Drying is part of the job. Check the treated surface and surrounding areas before returning mats or covers. A seat that feels dry on top can still warrant attention if moisture has reached seams or padding. Persistent dampness, recurring odor, or water beneath carpet needs investigation rather than fragrance.
Owner discussions about Ranger seats include reports of pale marks remaining after spills and attempted cleaning. Those reports do not establish whether a particular mark is residue, dye loss, or another problem. They do reinforce a useful question for your own record: what changed after each treatment?
Treat leather and vinyl as separate applications
For leather where the applicable Ford instructions allow it, routine care uses a soft damp cloth with mild soap and water, followed by drying with a soft cloth. Confirm that method for your particular surface. Do not assume a stronger treatment is necessary simply because the seat looks shiny.
Ford’s leather-care guidance cautions against several treatments, including household cleaners, alcohol solutions, and oil, petroleum, or silicone-based conditioners. A product intended for vinyl or plastic is not automatically suitable for leather. Follow the documented material-specific method, particularly when dealing with dye transfer or a repaired finish.
For vinyl, use instructions that actually identify vinyl and the finish involved. Clean stitching and transitions carefully without saturating seams. If the surface becomes tacky, loses color, cracks, or transfers finish onto the cloth, stop. Repeating the same treatment is unlikely to clarify whether you are removing dirt or damaging the coating.
Keep trim, instruments, and screens distinct
Instrument panels include several finishes that may sit only inches apart. Apply permitted cleaning material to a cloth as instructed and control where it goes. Keep glass-cleaner overspray off surrounding trim. Avoid polishing a dashboard into a reflective finish or leaving slippery residue on the steering wheel and controls.
A touchscreen is not ordinary window glass. Use the display-specific instructions for the installed system, including any aftermarket unit. Start with the permitted soft cloth method for fingerprints and dust. Do not spray liquid directly into the display, buttons, or openings, and do not assume a cleaner approved for one screen coating suits another.
Clean glass with attention to nearby materials and any tint film. The film installer may specify a different care method. Inspect visibility in daylight after cleaning; smears that are hard to see in a garage can become distracting when sunlight hits the windshield.
Protect restraints while cleaning around them
Seat belts and airbag areas are not ordinary stain-removal projects. The 2020 Ranger manual warns against solvents, bleach, and dye on belt webbing, and against strong detergents or chemical solvents on seats with side airbags. Consult the instructions for your year before cleaning these areas.
Do not remove a stain by altering a belt, opening an airbag seam, or applying a coating around restraint components. If a belt is damaged, heavily contaminated, or does not operate normally, obtain qualified inspection. Cleaning cannot establish that a restraint remains serviceable after damage.
Reduce dirt before adding protective accessories
Keep muddy equipment contained and remove grit before it accumulates in seams. Address spills promptly, and inspect beneath removable accessories during routine cleaning. A cover can conceal moisture or debris as well as protect a surface, so it should not eliminate inspection of the upholstery underneath.
If you are considering added protection, our Ford Ranger seat-cover fit checks explain why the exact seat layout and restraint compatibility matter. Use the cover’s own washing instructions. Do not treat a removable cover’s care label as permission to apply the same process to the factory seat.
Create a short maintenance note listing the material, approved method, and any successful spot treatment. Adjust the frequency to actual dirt and use rather than an arbitrary intensive-cleaning schedule. A brief inspection after muddy trips or spills can be more useful than occasional aggressive cleaning.
Related guidance: interior material care guidance for a different Ford vehicle; Ranger seat-cover fitment and interior protection.
Frequently Asked Questions
Can I clean every interior surface with one all-purpose product?
Only use a product on surfaces specifically permitted by both its instructions and the vehicle guidance. An all-purpose label does not establish compatibility with screens, leather coatings, restraint webbing, or repaired trim. Keep the material check even when a cleaner is marketed for interiors.
Does a pale mark mean the seat needs dye?
No. Appearance alone cannot distinguish residue, staining, wear, or color loss. Record what happened and what was applied, allow the area to dry, and seek assessment if the mark remains. Do not jump directly from an unsuccessful cleaning attempt to recoloring.
Should I use steam to remove a stubborn spot?
Do not assume steam is approved for your upholstery, adhesives, or nearby electrical equipment. Check the applicable instructions first. If the permitted method fails, professional assessment is more useful than increasing heat and moisture without knowing the material limits.
Can I put a protective cover over a damp seat?
Allow the seat and cover to dry as their instructions require before assembly. Covering the area can make inspection and drying harder. If moisture repeatedly returns, find its source instead of relying on a protective layer to hide it.
When should routine cleaning stop?
Stop when color transfers, texture changes, coating lifts, moisture reaches electrical areas, or a restraint is affected. Widespread contamination, persistent odor, and suspected water intrusion also warrant assessment. Provide the professional with the material details and treatment history you recorded.
Final Words
Protecting and cleaning Ford Ranger interior materials works best as a controlled, material-specific process. Identify the surface, remove loose dirt, use the documented method, and check the result after drying. Keep screens and restraints within their specific care limits. When a mark resists ordinary care or the finish changes, stop and investigate instead of making the next treatment stronger.